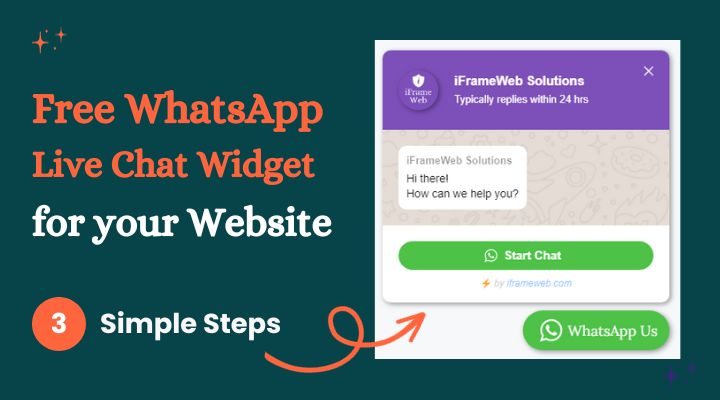
Are you looking for a Free WhatsApp Chat Widget for your Website?
Our tool is here to help you. You can Generate a WhatsApp Live Chat Widget and button code For Free to add to your website. You can generate a completely Free WhatsApp Chat Widget for any Website.
This code is compatible with any kind of website made with any CMS which allows you to insert HTML code or let you place a script inside the header of the website. You need to copy and paste/place this code inside the website’s header.
Contents
You can Add this Free WhatsApp Chat Widget to your WordPress, Shopify, or Custom/HTML website with 3 simple Steps.
No technical skill is required. Customize the WhatsApp chat button for your brand and generate the code. We also have given the instructions on how to add the Whatsapp chat widget button on the website after generating the code.
Let’s get started…
3 Steps to Create a Free WhatsApp Chat Widget for your website
Step 1: Chat Button Settings

Design your own WhatsApp Live Chat Widget and button with your customized settings.
i) Button Background Color
The default button color is WhatsApp’s brand color, but you can choose any of your own colors for the button.
ii) Button Text
The Button Text will be visible with the WhatsApp icon. (e.g. WhatsApp Us)
If you want to use only the WhatsApp icon. Keep Button Text Empty. But make sure to remove the extra right and left padding to make the icon perfectly circular. (No worries it is easy to do)
Just copy/paste these CSS lines by navigating to Appearence>Customize>Additional CSS
#wa-widget-send-button {
    padding-left: 0 !important;
    padding-right: 0 !important;
}
Do it only in case you want to use only the icon and do not want to use any Button Text.
Border Radius is the roundness of the corners in px. 25 is the default setting. You can use your own if you want.
Choose Margin Settings accordingly for the Left or Right Position of the button.
Keep the left margin 0 if you want to use the button on the Right-Bottom and the right margin 0 if you want to use the button on the Left-Bottom of your website.
Step 2: Chat Widget settings

Now Change your brand name, brand subtitle, and Brand Image URL.
i) Welcome Message
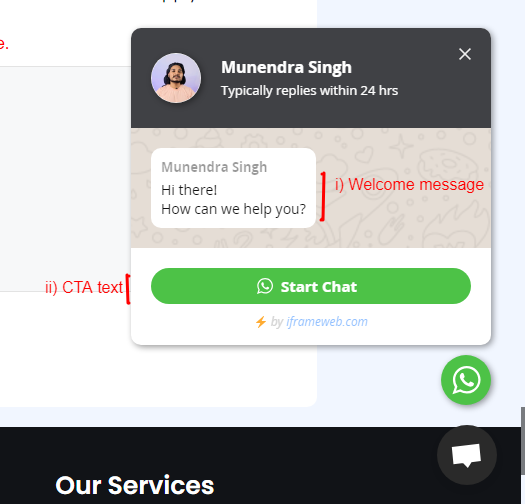
Will be shown in the chat widget as a message from your brand. You can see it in the above image (Hi there! How can we help you?) or try clicking on our chat button.
ii) CTA Text (Start Chat)
CTA Text is the button text. Clicking on it starts chatting on WhatsApp instantly.
iii) Auto-written Message Text
This Message text will be auto-written in WhatsApp chat by clicking the Start Chat button.
Additionally, you can use Page Link or Page Title parameters to include in the Message Text to recognize which page the user is messaging from.
iv) Auto Show/Hide
Check the Auto Show if you want the chat widget to remain open by default.
If unchecked, the user will see only the Chat Button (Customized in Step: 1), and when clicked on it, it will open the chat widget.
v) Enter Whatsapp No.
Enter your/business whatsapp number Including your country code without (+).
If your business WhatsApp number is +91-123-456-7890
Correct Format: 911234567890
Incorrect Format: +911234567890
Incorrect Format: 1234567890
Step 3: Generate Code
This is the final step to generating a WhatsApp Live Chat Widget for your website. Click the button below after entering all your brand details in the above form.
Finished customization?

Code Generated Successfully!
This code must be placed inside header of your website
Now, Add WhatsApp Chat Widget to Website
Now, you have successfully generated a customized WhatsApp chat widget for your website with your brand guidelines/color scheme. It's time to add it to your website. Add the copied code inside the header of your website. If you are using WordPress CMS, there are many plugins to insert header code.
You can use a plugin or add it manually to your theme's header file (It is recommended only if you have some experience working with WordPress).
Need help to add Code in the Header of Your Website?
Check out the step-by-step guide on How to Add Header and Footer Code in WordPress

If you have any questions or facing any problems regarding the Whatsapp chat widget/button code or placement on your website, please comment below or contact us. We will help you install or generate it for you (It’s FREE, with No service charges). So, feel free to contact us.