
In today’s digital landscape, having a fast and reliable website is crucial for online success. Slow-loading websites not only frustrate visitors but also impact search engine rankings. One powerful solution to enhance the performance of your WordPress website is by integrating it with BunnyCDN, a Content Delivery Network (CDN) designed to boost website speed and efficiency.
Contents
What is BunnyCDN?
BunnyCDN is a global CDN service that caches and delivers your website’s static content from servers strategically located across the globe. When a user visits your WordPress website, BunnyCDN serves the cached content from the nearest server, reducing latency and load times significantly.
Benefits of Using BunnyCDN on WordPress
Integrating BunnyCDN with your WordPress website offers several advantages:
- Improved Website Speed: BunnyCDN’s network of servers ensures faster content delivery, resulting in reduced page load times and an enhanced user experience.
- Better SEO Rankings: Since site speed is a ranking factor for search engines, using BunnyCDN can potentially boost your website’s search engine rankings.
- Bandwidth Savings: BunnyCDN offloads a significant portion of your website’s bandwidth, saving costs if you’re on a metered hosting plan.
- Global Reach: BunnyCDN’s wide network of servers ensures your content reaches users from any corner of the world with minimal latency.
How to Set up BunnyCDN on WordPress
1. Creating a BunnyCDN Account
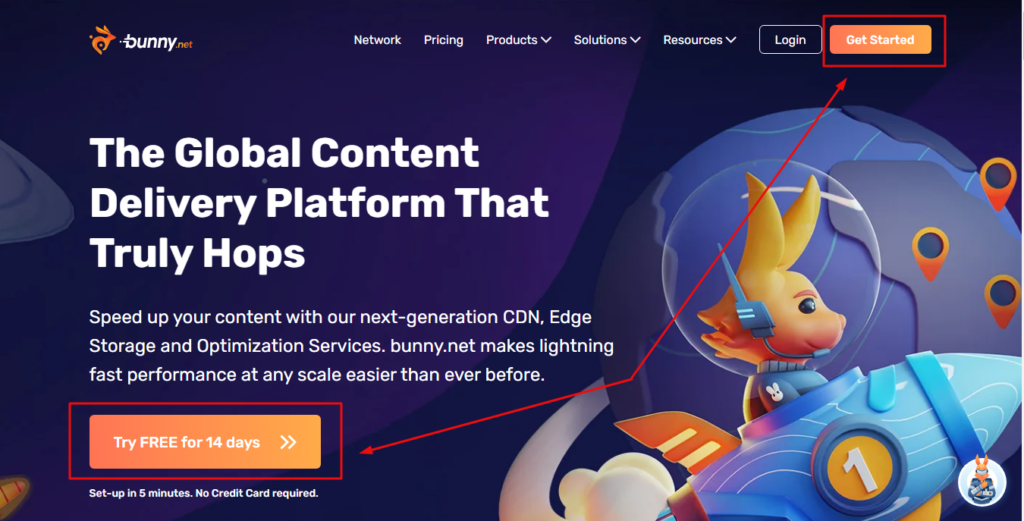
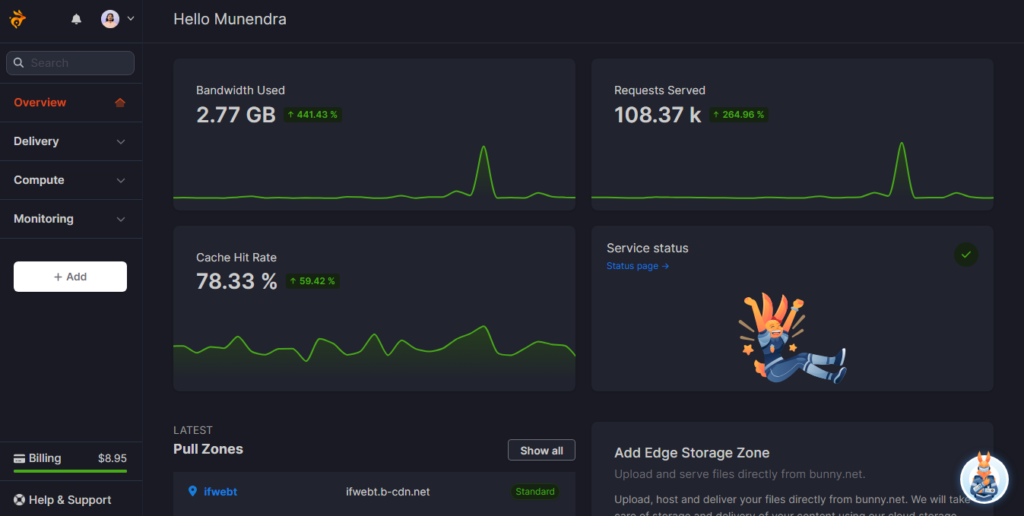
The first step is to create a BunnyCDN account. Go to the BunnyCDN website (https://bunnycdn.com) and sign up for an account. Once registered, you’ll get access to the BunnyCDN dashboard my dashboard is shown in the below screenshot (yours will be different before set up.
2. Getting the BunnyCDN API Key
To integrate BunnyCDN with WordPress, you’ll need an API key if you integrate it with any Cache Plugin like Wp Rocket, otherwise using BunnyCDN Plugin will also work without API. Will show you how in the further steps.
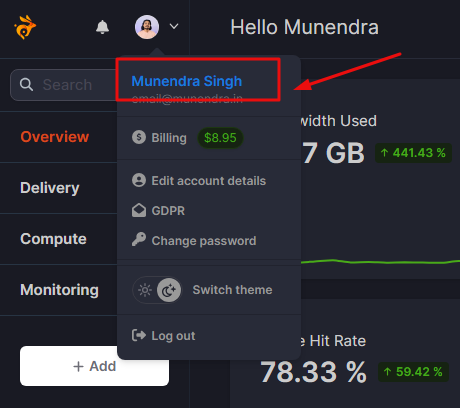
To get the API Key, click on your name (as shown in the below screenshot) You’ll be on the URL: https://dash.bunny.net/account/settings
Scroll down almost at the end and you will find the API section and your API key. You can view it, and copy it using the given respected button.
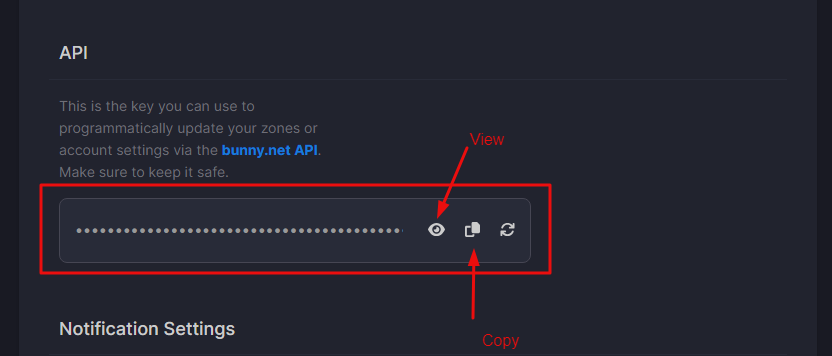
Keep this key safe as it will be required later.
3. Install the BunnyCDN WordPress Plugin
In your WordPress admin area, go to “Plugins” > “Add New” and search for “BunnyCDN.” Install and activate the official BunnyCDN WordPress plugin.
4. Create CDN/Pull Zone in BunnyCDN Dashboard
Now you need to create a pull zone for your domain. Navigate to the CDN tab under Delivery as shown below screenshot and click on the + Add Pull Zone button. You can also follow the direct URL: https://dash.bunny.net/cdn/add
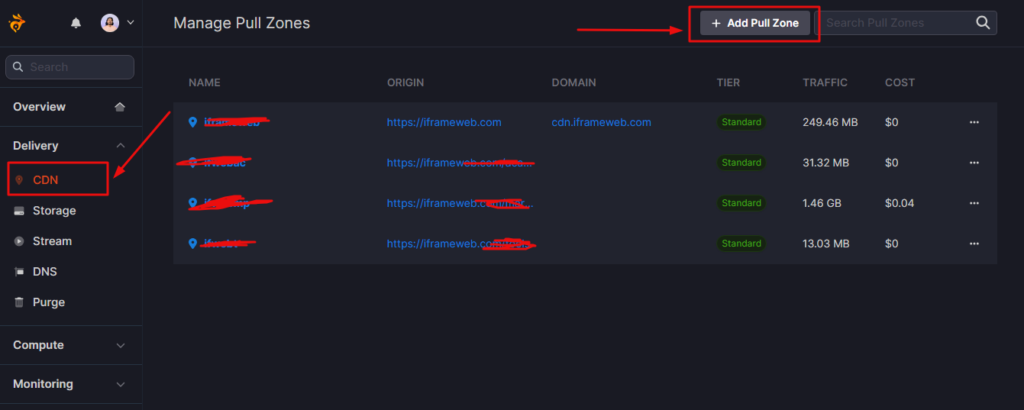
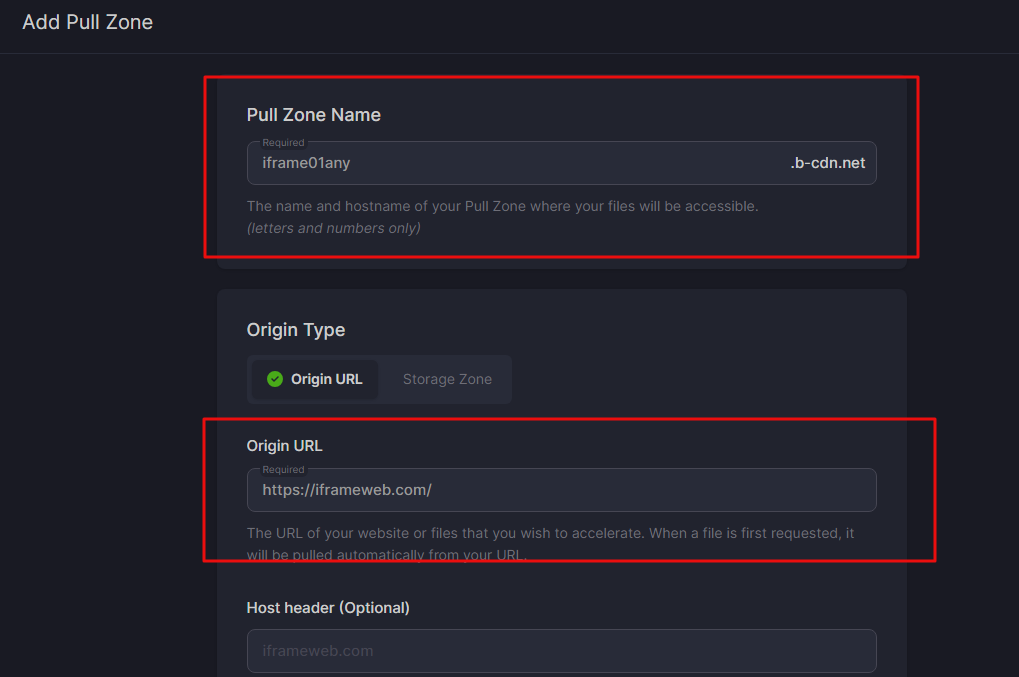
Name your Pull Zone, it will be a unique name and will be shown as example.b-cdn.net in the URL of images or resources of your website. We are entering iframe01any for this tutorial purpose.
And add your website URL in the URL field
Now do other settings:
Choose Tier
i) Standard Tier
Ideal for small files, websites. Exceptional global latency aimed at high-performance solutions where every millisecond matters, such as website acceleration, ad delivery, or small file delivery. Starting at $10/TB
ii) High-Volume Tier
Ideal for large files / video. Aimed at cost sensitive, global high bandwidth solutions, the volume tier offers the best price performance ratio by utilizing a smaller set of high performance PoPs. Starting at $5/TB
Select Pricing Zones
There are different charges for the different zones for per GB bandwidth, so choose as per your requirements and budget.
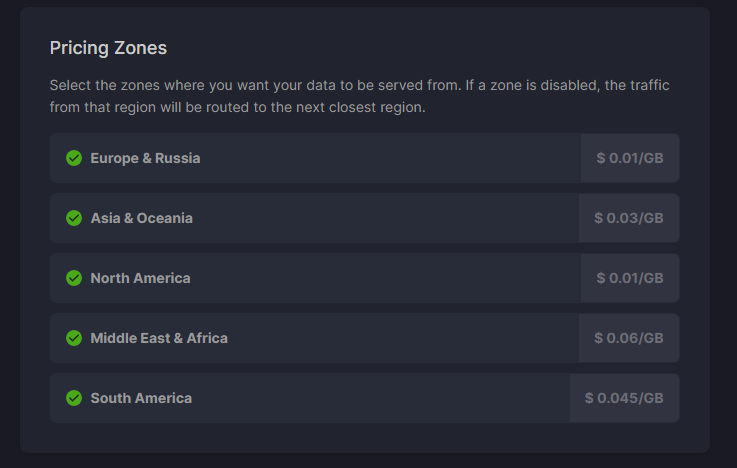
Select the zones where you want your data to be served from. If a zone is disabled, the traffic from that region will be routed to the next closest region.
5. Configuring the Plugin Settings
After creating Pull Zone, go to “Settings” > “BunnyCDN” in the WordPress dashboard or it can be found as bunny.net on the left side in WordPress Dashboard. Enter the API key you obtained earlier, and configure other settings like cache control, custom CDN Domain/hostname (iframe01any.b-cdn.net in our case for this tutorial), etc.
6. Verifying the Setup
To ensure the setup is successful, clear your website cache and check the response headers. If you see the BunnyCDN headers, it means your content is being delivered through the CDN.
Example: https://iframe01any.b-cdn.net/wp-content/uploads/2023/07/image.png
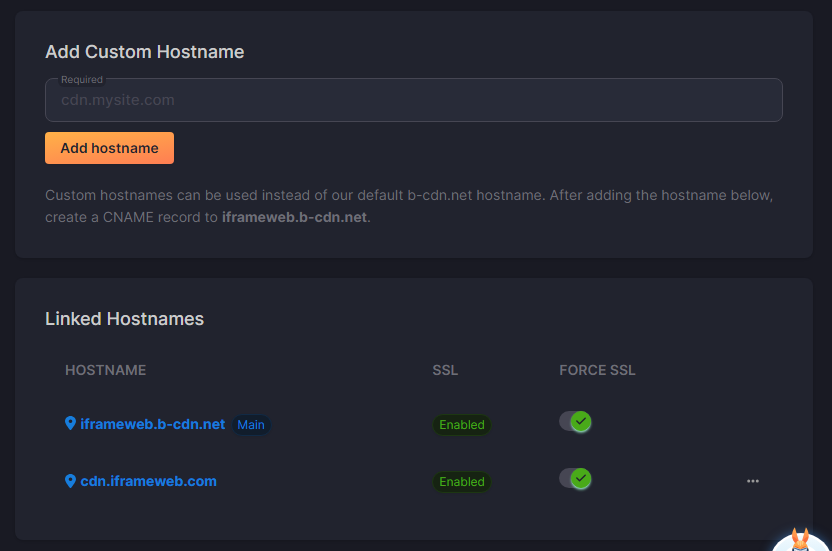
Note: you can also configure a custom hostname like cdn.iframeweb.com instead of using BunnyCDN’s b-cdn.net.
For example, the URL to our images/resources: https://cdn.iframeweb.com/wp-content/uploads/2023/07/bunnycdn-account-creation-1024×521.png
Caching and Content Delivery
Understanding CDN Caching
CDN caching involves storing static content on BunnyCDN servers, reducing the need to fetch it from your web hosting server each time a user visits your site.
Configuring Cache Settings
In the BunnyCDN settings, you can define caching rules to determine how long content remains cached on the CDN servers. Caching rules depend on the frequency of content updates.
Content Delivery Optimization
BunnyCDN allows you to enable “Hotlink Protection,” preventing others from using your content without permission and also offers “Bot and Crawlers” control to manage how bots access your website.
Image Optimization
Importance of Image Optimization
Images contribute significantly to web page size. BunnyCDN’s Image Optimizer reduces image size without compromising quality, resulting in faster loading times.
Using BunnyCDN Image Optimizer
Once activated, the Image Optimizer automatically compresses and optimizes images on your website.
Integrating with WordPress Media Library
BunnyCDN can integrate directly with the WordPress media library, optimizing images as they are uploaded.
Security and SSL
BunnyCDN Security Features
BunnyCDN offers DDoS protection, secure token authentication, and other security features to safeguard your website from threats.
Enabling SSL for Your Website
You can set up SSL for your WordPress website to ensure encrypted data transmission and build trust with your users.
BunnyCDN Pricing
BunnyCDN pricing starts from $1, you pay for the usage only. You can recharge your account and the billing will be from that amount as per the bandwidth used.
The price per GB bandwidth usage is shown in the pricing zones and you choose and select the zones by yourself.
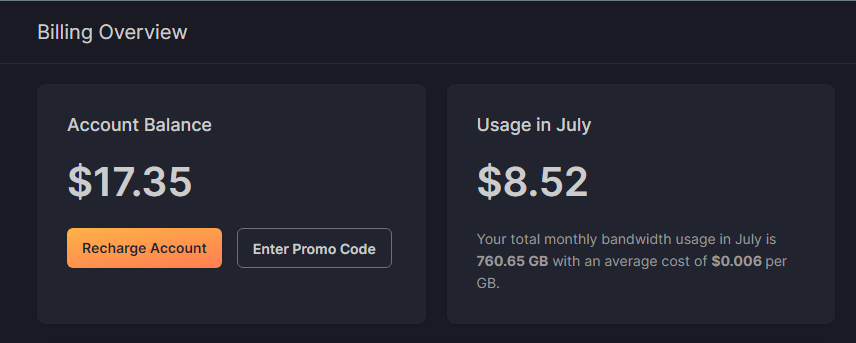
For an idea, one of our client’s website stats and the cost is shown below. It will give you an idea of BunnyCDN pricing for use.
Monthly bandwidth usage in July is 760.65 GB with an average cost of $0.006 per GB and a cost of around $8.52 which is a very reasonable amount and the performance is also very good.
You can also Try BunnyCDN for 14 days for FREE and recharge your account if you like the services.
Analyzing Performance and Usage
Monitoring BunnyCDN Usage
The BunnyCDN dashboard provides valuable insights into bandwidth usage, requests, and content delivery performance.
Analyzing Performance Metrics
Use tools like Google PageSpeed Insights and GTmetrix to analyze your website’s performance and identify areas for improvement.
Troubleshooting Common Issues
Troubleshooting Tips
If you encounter any issues with BunnyCDN, try clearing the cache, rechecking settings, or seeking support from their knowledge base.
Getting Support from BunnyCDN
BunnyCDN offers excellent customer support through tickets and a knowledge base to help you resolve any problems quickly.
If you need our help setting up the CDN for you, contact us
Conclusion
Integrating BunnyCDN with your WordPress website can significantly enhance its speed, performance, and SEO rankings. With its user-friendly setup and powerful features like caching, image optimization, and security, BunnyCDN offers a comprehensive solution for content delivery and website optimization.
1 thought on “How to Set Up BunnyCDN on WordPress Website”